Start with Part I if you haven’t read it already.
Step 3. Choosing an operating system (continued)
I use Windows 7 at home, and I would have no problem recommending it as a home server operating system. It has a familiar interface, has good hardware support, and from my experience it is very stable. From the perspective of building a home NAS as cheaply as possible, its not the best choice. Out of my 4 options, it is the only one that is not free. I also wanted to optimize my NAS as a headless system… meaning that it would not be connected to display or keyboard while running. For these reasons, I crossed it off my list.

FreeNAS is an OS based on FreeBSD. It caught my eye and I started doing research on it. It turns out FreeNas is maintained by a company called iXSystems. In many cases you will find references to FreeNas on the Web. The older version of FreeNas is now maintained in a different fork called Nas4Free. FreeNas is currently more focused on storage solutions and less about media serving. This removed it from my list.
Nas4Free was formally called FreeNAS. It has lots of features for media sharing like DLNA support (to an extent). The OS itself is easy to install and run off of a simple USB key drive, which can save you from having a boot drive in your system. If it supports all of the features you need, it can be a very good choice. One thing Nas4Free is missing is support for the Plex applications. If you are going to buy a pre-built NAS+media server, I suggest checking out Plex and looking at the products that support it. Lack of Plex support was really the deal killer for me.
I’ve used Ubuntu Desktop in a VMWare virtual machine previously. As I learned more about what features I wanted in my NAS, it made more and more sense to move to a full blown Linux install. Plex runs on Ubuntu and it also has support for the ZFS file system which I will elaborate on further later on. It’s a little more complex to set up, but in the end, flexibility, enterprise level features, and application support were worth the effort for me. Ubuntu Server FTW!
Step 4. Hardware decisions

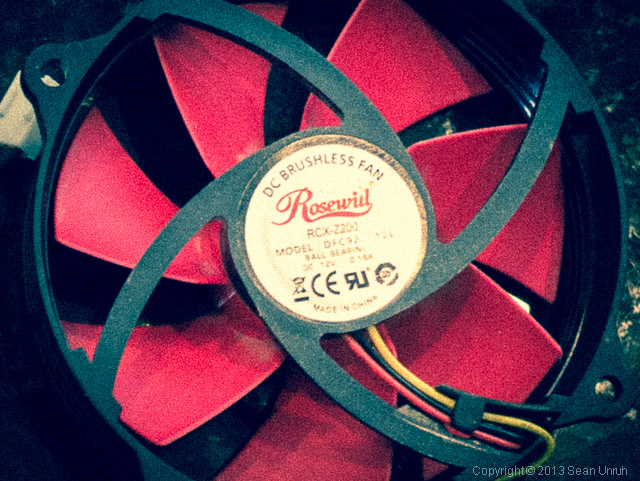
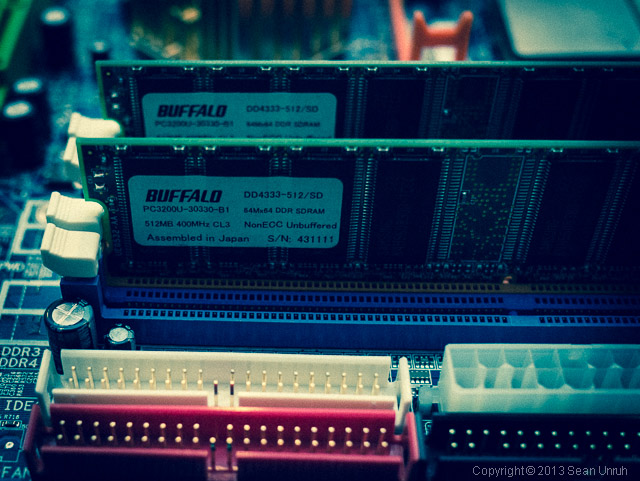
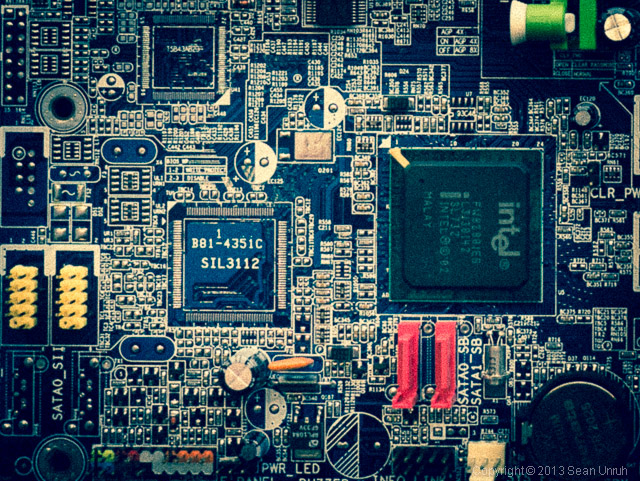
I already had a good Motherboard, a quad core Intel Q9450 processor, 4GB of ram, a power supply and a case. I did buy an Intel Celeron-L 440 processor for $8 on eBay thinking it would save a little power. I also invested in a Kill-A-Watt meter which can give you real time and average power consumption. My hope was to get power consumption under 100watts. NAS systems built on Intel Atom motherboards can get down under 30 watts, but for a system that does more than just serving files, you probably need some more horsepower. The main feature your motherboard needs is the right number of SATA ports. My board has 8, which is great for future expansion if I need it. I would probably want a least 4 if I were buying a new or used board.
The other big choice to make is which hard drive to buy. Western Digital has done a great job of creating a line of drives for the NAS market… WD Red. It seems counter-intuitive at first, but a desktop drive that spins down and parks the heads when not being accessed doesn’t really work well in a NAS. Sleeping drives cause delays when you access your NAS, and there is also the “TLER issue” which causes havoc with Raid Arrays. The Red drives also have very good power consumption numbers. A good review if the Red drives can be found here. I picked up 3 2TB drives from B&H… who had the best price at the time.
I also wanted to mention power supplies. A PC Based NAS without a Video Card will use between 80 and 150 watts depending on how you configure it, and how many drives you need. Power supplies usually operate at peak efficiency at about 50% load. So a 300 Watt power supply is probably a good choice… and an 80 Plus certified supply will help keep the power usage down. Consistent voltages and clean power are important to systems that are running 24/7, so don’t skimp on the power supply!
Continue on to Part III

