Tag Archives: printing

Making Polaroid / INSTAX Style Prints With An Epson EcoTank Printer

I purchased an Epson ET-4700 Ecotank Printer back in January of 2020. We needed to replace an old HP Color printer that we mostly used for occasional color documents and kids projects. The ink cartridges were super expensive, and the color cart would need replacement if any one of the CMY colors ran out.
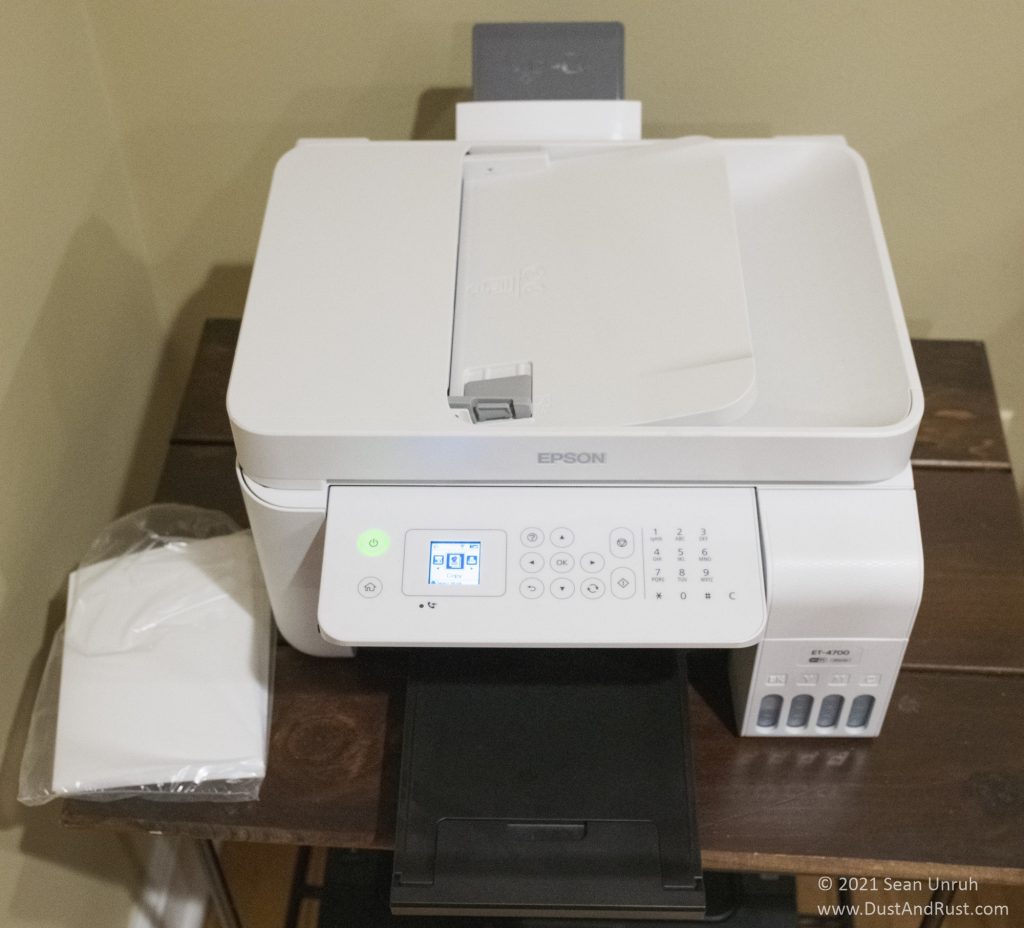
My Epson EcoTank ET-4700

I did a little research and picked up the 4700 for less than $250 which included a full set of 4 Inks. It works great for the intended use, and amazingly, I have not needed to buy any ink yet… the black ink is down to about 40% left, and the color inks are all at about 70% remaining.

I also print side by side 3D photo cards (see this post) and occasionally 5×7 prints on this cheap HP Photo Paper. I gave up on printing large prints at home and use WhiteWall for anything I will hang up on my walls.

In April of this year, I picked up a FujiFilm X100V and started looking into FujiFilms Instax Printers. I was interested in the new Instax Share Wide, but the X100V can’t do direct prints (you need to use the App) and the SP-3 which can be used directly, but appears to be discontinued.

So what are the qualities of a Polaroid / Instax image that makes us nostalgic?
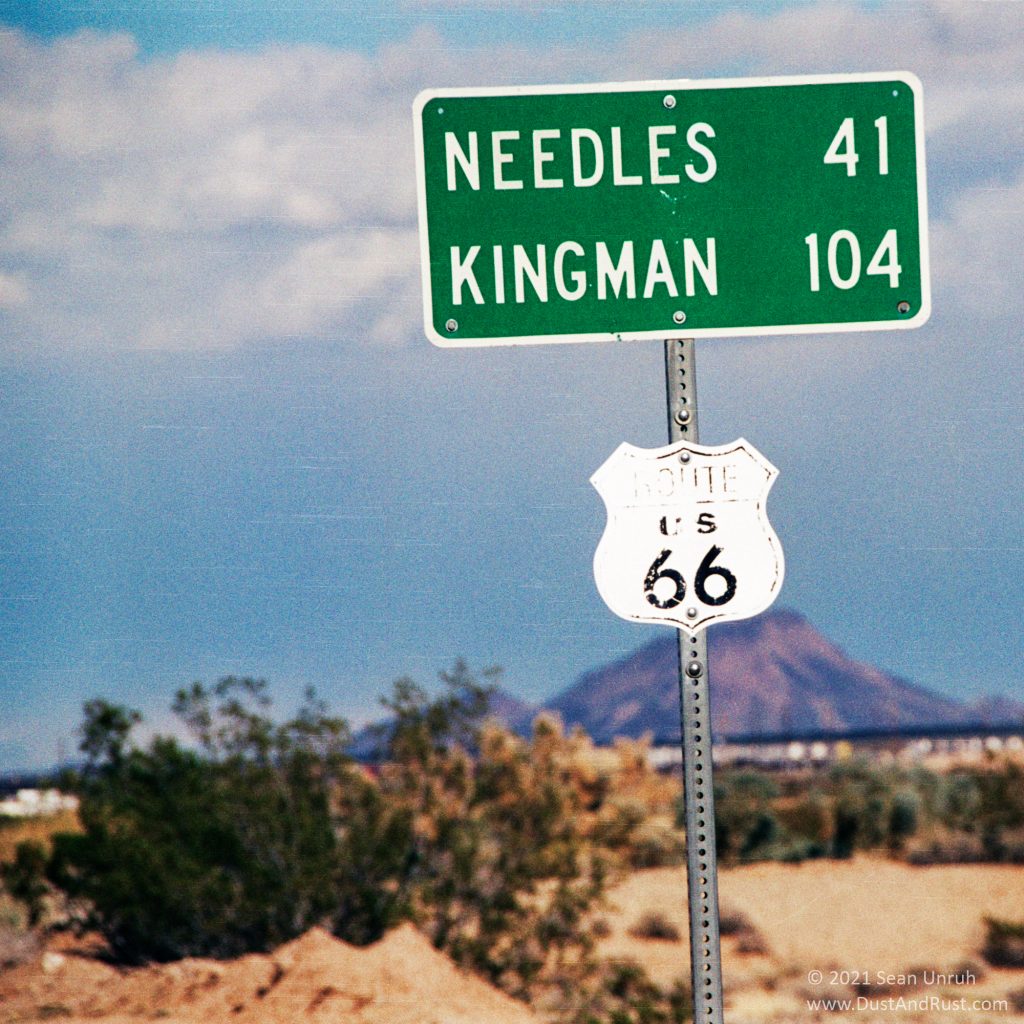
A scanned film image from my collection, with scratches and “gritty” color… cropped to a perfect square for Instagram or ???
  • Being able to take a photo, watch it develop before your eyes, and share it almost immediately.
  • The form factor (that people remember) consisting of a square image surrounded by a white border, with a heavier bottom border. in other words, the prints came with their own “matte” right out of the camera.
  • Each image was a unique moment, that unlike negative film could not easily be duplicated. Of course today, we can easily convert them to a digital format, but in the ’70’s and ’80’s, even if it was possible, it was not easy or convenient.
  • The image quality on the consumer film was not that great, but people were ok with that because of the novelty.
  • The film itself was very glossy, durable, and made of plastic. Basically inside of each photo was a pocket that held the developers.

So while I was getting frustrated looking for the right Instax printer, not excited at the price of a pack of film (around the same price as 60 sheets of 5×7 photo paper), I decided to make my own “polaroids” with what I had on hand. 5×7 paper, Epson ET-4700 printer, paper cutter, and a DataColor SpyderPrint in a box in my basement.
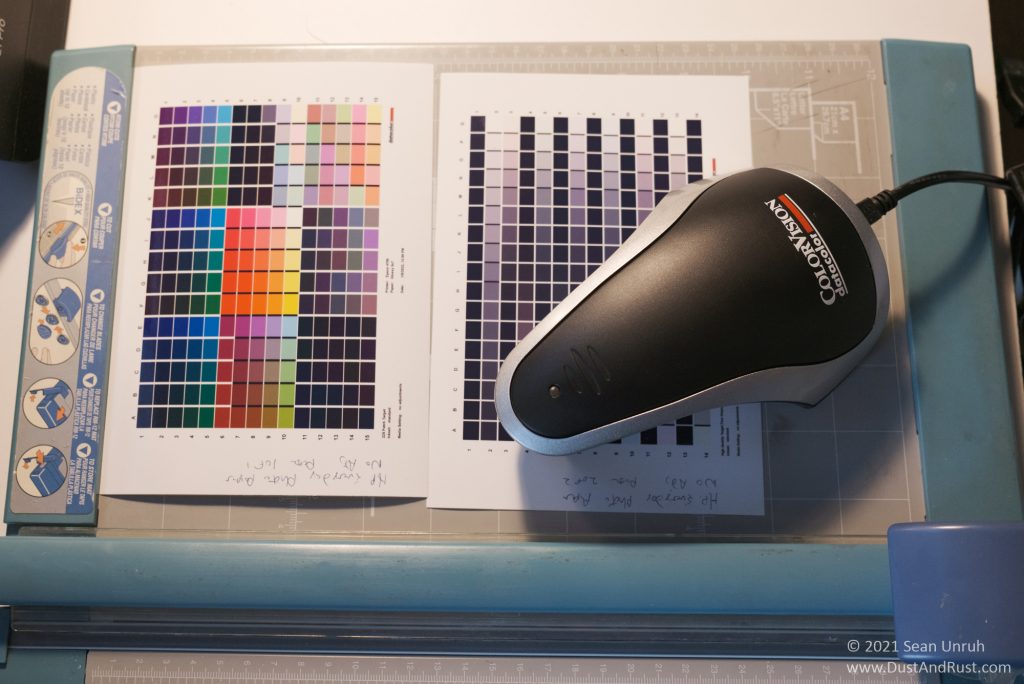
I created an ICM profile for the HP Paper, and did some highly complicated math to create a slightly enlarged version of the “standard” Polaroid framing…

Lightroom Print Template Created for a 5×7 page size.

The above settings for a 5×7 print in LightRoom will give you very Polaroid-esque print. After printing, just cut exactly 1 inch from the bottom border, making a 5×6″ print with a 4.44 inch square image.

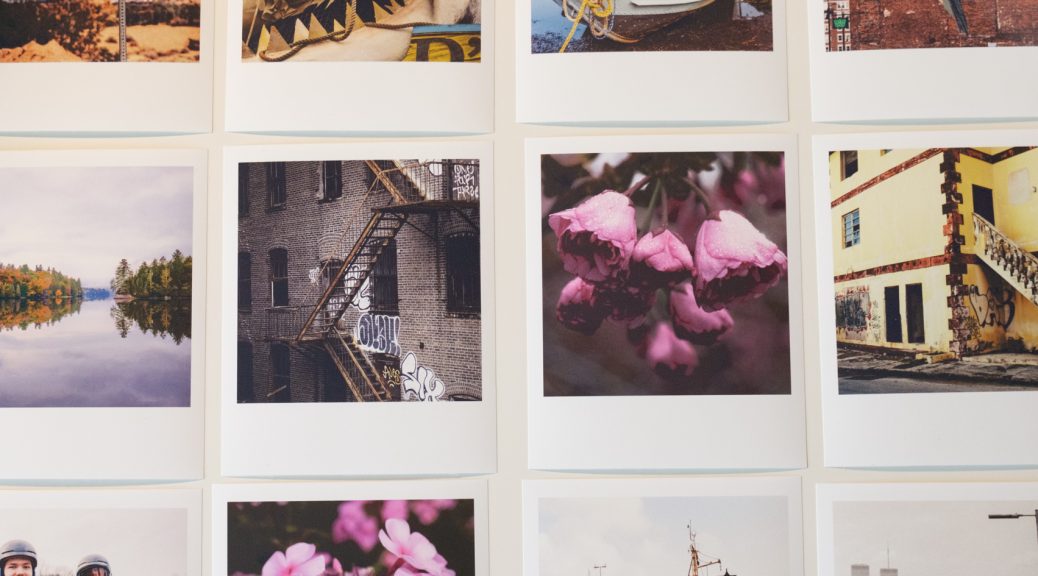
I printed the photos below in less than an hour (that included picking the photo, cropping, and printing). The custom profile works great. Because the ET-4700 does not have a photo-black ink, the blacks lack some contrast… just like the film! Combined with the fun FujiFilm film simulations, you can get that nostalgic feeling with ease, and the print quality is probably a bit better than instant film.
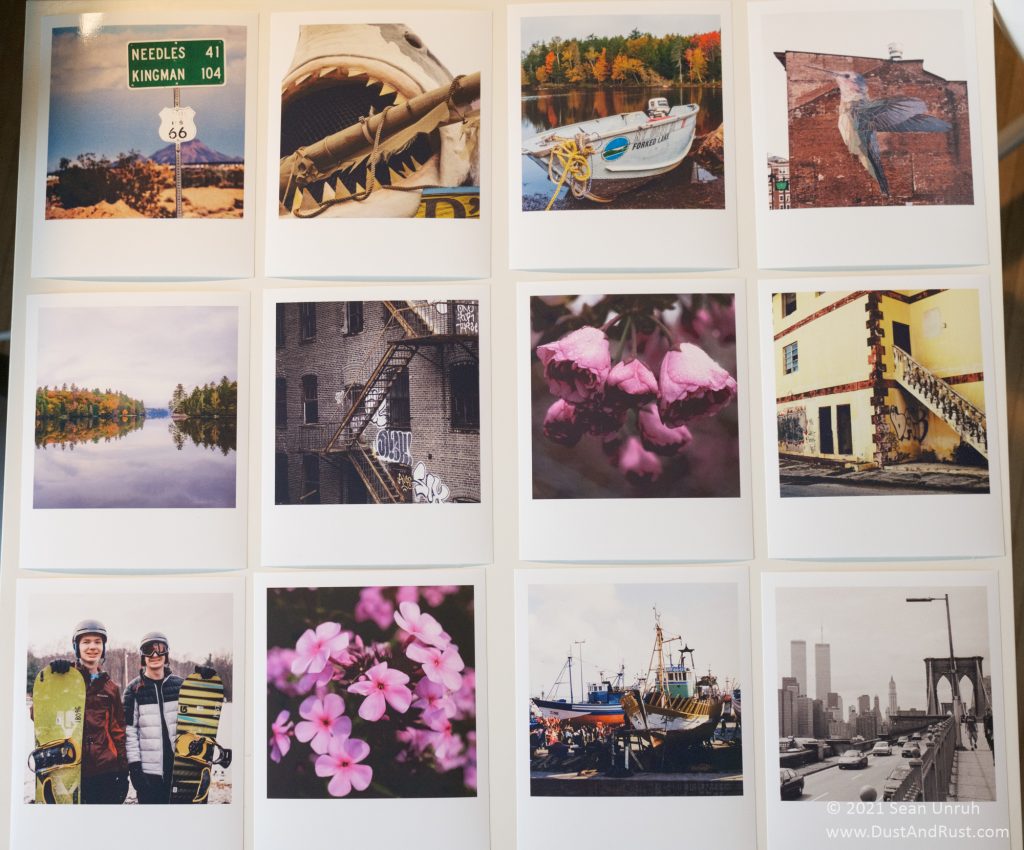
Prints made on Epson EcoTank 4700 and 5×7 photo paper

I really enjoyed this stroll down Instax Lane. While the printing process is not quite as fun as watching a Polaroid develop, and the tactile feel is not even close to the original, the prints still “feel” like Polaroids when i look at them. I still might buy an Instax printer, or maybe even a camera down the road. Fujifilm… make a combined “Camera/Printer” model and I’ll buy it!

Lessons learned :

  • I should have purchased the EcoTank printer that has a photo black ink.
  • Next time I order 5×7 photo paper, I will spend a little more money and get heavier paper stock… it would be better for prints I want to give to people.
  • I need a good way to display these prints!
My journey into dedicated B&W printing Part II

In my original post about setting up a dedicated B&W printer, I had already picked the printer (Epson Stylus 1400) and ink (MIS EB6). I still had a few questions about paper and setting up a workflow. I now have everything up and running, so I thought I would follow up with my results.

Q) What paper should I use?

A) Originally I was going to use Hahnemuhle Photo Rag 308. After doing some more research, I decided to stay away from papers with Optical Brightners (OBA’s). OBA’s are used in many papers to give them a very white appearance… in a manner similar to the way certain laundry detergents “brighten” your clothes. While they can add a certain punch to a photographic print, their longevity is questionable. In light of this, I decided to go with a OBA free, lignin free 100% cotton rag paper. The paper I have selected is PremierArt Smooth Fine Art Paper 325gsm. I was concerned about running a paper with this thickness through the 1400, but after a few reassuring forum replies, I went ahead and made the purchase. I’d like to give an unsolicited shout out to Atlex for their good prices and excellent service.

Q) Do I need to use Quad Tone Rip or not?

A) After experimenting with several options, I decided that Option 2 – Epson Driver – ICC in Print Preview, on page 4 of Paul Roark’s Eboni-6 guide works the best for me. Since I am getting great results from one of Paul’s profiles, the complexity of setting up Quad Tone Rip is not necessary in my case. If I was printing of a variety of papers, things might be different.

————————–
I wanted to add a few notes about the full EB6 ink / Epson 1400 / PremierArt Smooth Fine Art experience…

Cart Refills
The refill process of the MIS cartridges was straightforward, and not too messy. You can find the instructions here. The carts have a very nice “auto reset” feature where the cart resets to 100% all by itself (see the notes in the refill instructions above).

Head Clogs
The Epson 1400 sat for long periods of time (I’m talking over 4 weeks) with the EB6 ink carts installed and primed. My fears of head clogs have gone mostly unwarranted so far. I did have a minor clog in one of the colors that showed up as some missing lines in the head test pattern. It showed up after I made a 13×19 print with a lot of black coverage. For now, I will be doing a pattern check before each print.

Paper Issues
My first print on the 13×19 PremierArt Smooth had some white specks, and some odd pattern changes in the deep black areas. I had already known from my research that other users of the paper were brushing it down before using it because of this issue…. but in my excitement to make a print, I forgot to actually do it. On the second try, I used a wide camel hair paintbrush to lightly clean the paper before printing. This print came out speck/defect free. I had no issues feeding single sheets of the 325gsm 18mil paper through the Epson even though they specify the max paper thickness as 11.8 mil.

The End Result
The combination of the EB6 ink, PremierArt paper, and the Epson 1400 seem to be delivering everything I hoped they would. The OBA free paper and carbon ink gives the prints a nice warm tone. The smoothness of the ink in the deep blacks is hard to describe… and gives a very unique look on the matte paper.

My next goal is to actually offer some prints for sale. I’m trying to keep the prices very reasonable… and keeping shipping costs low (I don’t want to roll the prints in a tube). I’m looking at Print Pads from Masterpak, but they are quite heavy and expensive. If anyone has any suggestions, I’d love to hear them.

My journey into dedicated B&W printing

With the recent fall in prices on the Epson 1400 printer, I decided it was a good time to take the opportunity to set up a dedicated B&W printer. I’ve been using an Epson 870 for years to do color and B&W toned prints using only Epson inks. Being a dye ink printer, the 870 has a ton of issues with the papers, and the archival properties of the inks.

*** Disclaimer : I am only providing this information to help those that may find it useful. Epson will not warranty any printer when it is modified or used with 3rd party inks or cartridges, or CIS systems. I am not making any recommendations or endorsing any products here. I am just sharing my experience with these products.

Before diving into the world of 3rd party inks and papers there were some questions I needed to resolve, so I’ll take you through my decision making process…

Q) Which printer should I buy?

A) For me, this question was answered buy the price drop and rebates offered on the Epson 1400. This printer is capable of print sizes up to 13×19 Sheets. It has an ink dot resolution of 5760 x 1440 dpi. It also features an ink droplet size of 1.5 picoliters, which is extremely fine. Because the printer features a piezo style print head, pigment inks should not cause a clogging problem. I managed to get my printer for $150 (assuming the rebate goes through), which seems to be quite a bargain.

Q) Do i need to get a CIS?

A) I struggled with this question for a while. I may only turn my printer on every few weeks. My printing volume is not going to be very large. A CIS may have problems with clogging if it sits around not moving ink. I’ve also read about ink pooling on the printer sponges. Due to these 2 issues, I decided to start out by using refillable cartridges from Michigan Ink Supply (aka MIS). I’ve never used refillable cartridges before. I haven’t had to refill yet, so I’m not sure how easy, messy, or reliable they are going to be. I’ll post again when I refill them.

Q) Which ink should I use?

A) My goal is to print high quality, archival prints on matte paper. I was originally set to purchase the Ultratone UT14 ink set from MIS. This ink set caught my eye for a few reasons. It contains a black ink, 2 warm gray inks, 2 cool gray inks, and a gloss optimizer (aka glop) for glossy papers. It allows you to tone your prints by tweaking the driver from warm to cool. This also gives you the ability to make a neutral print on papers that may normally introduce their own tone when the ink is laid down.

But wait! I was about to push the “Buy” button on the UT14 inks, when I discovered something that seemed to be an even better fit for me. Tucked away under some pages on the MIS site is information about an inkset called EB-6. This ink set is based on the highly regarded MIS Eboni black ink. The 6 in the EB-6 refers to the 6 dilutions of black that will go in each ink position, providing varying shades from black to very light gray . The inks contain no additional toning compounds like the Ultratone inks do. According to ink and printing guru Paul Roark, this ink will produce neutral to warm tone depending on the paper used. I have a personal preference for warm toned B&W, so I am good to go there. Finally, this ink set is not really intended for glossy printing. It does not contain a “Glop” position, and while glossy paper may be used, the prints must be sprayed with sealer to protect them. Again, perfect for me, since I am going to be using matte paper only. I suggest reading this pdf from Paul Roark if you want very detailed info about this ink set. MIS offers refillable cartridges filled with EB-6 ink for the Epson 1400 printer on this page.

Q) What paper should I use?

A) My goal is to have archival quality prints on matte paper. I found a lot of information around the web, especially on Clayton Jones’ site. He has a specific page about his findings on papers with the Eboni inks here. Based on my goals, I’m going to give the Photo Rag 308 by Hahnemuhle a try. I’ll be using Epson Enhanced Matte for proofing as it will be cheaper, and provide similar results (but not longevity). I have not purchased the Photo Rag yet, and I have some concerns about it’s thickness with the 1400, but from what I have read, it will feed through in single sheets just fine. I will follow up when I have some results to report.

Q) Do I need to use Quad Tone Rip or not?

A) I’m still working on that question. I’d prefer to avoid an additional work flow step, but it may be needed to get the ultimate quality from the ink set. I’ll follow up with more info as I make come to a conclusion.

Where I am at right now

The 1400 is working fine so far with the MIS Carts and EB-6 inks. I have only done some proof prints on some old Epson Matte Heavyweight stock, but the results so far are very nice. I think this paper is the old version of the Epson Enhanced Matte. The results are just to the warm side of neutral. The deep blacks are very smooth, with no sign of any banding. I need to experiment with the Quad Tone Rip program to see if the results warrant the extra work flow steps required over using the Epson drivers.

I plan on some follow up posts as I progress with this set up and gain some experience with it. I hope you find this post helpful if you are exploring any of these topics.

— Sean