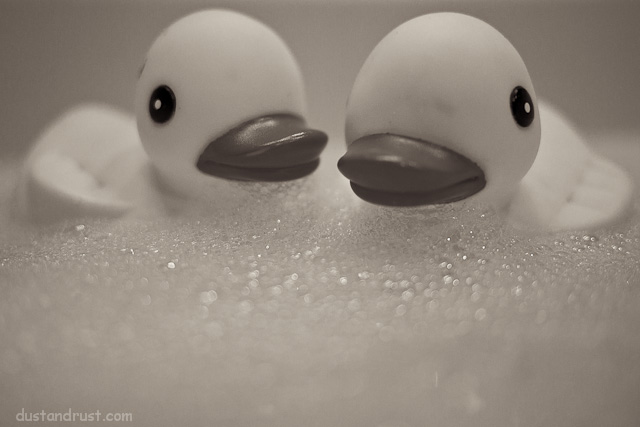
I wanted to make a print to hang in my bathroom. My kids are getting older, and I always take a picture of their toys before they “move on”. These two duckies are not going anywhere yet… but I killed two birds with one stone. I used the stuff you blow bubbles with in the bathroom sink, turned off the lights and opened the blinds to get some natural light. The duckies are a little worn, but I think they have a little more character than if they were brand new.
I held my GF1 precariously in the sink just hitting the tops of the bubbles and arranged my models in various poses. I liked this arrangement the best.
Category Archives: GF1 Diary
California ‘Cation
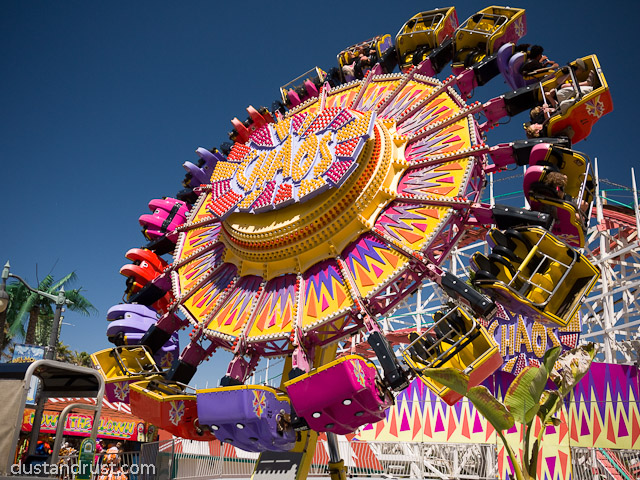
I just got back from vacation in San Diego. This shot is from the Belmont Park amusement park on the Mission Beach boardwalk. I took the GF1 and the 20mm and left the D200 and G9 behind. Overall, I’m very happy with the camera… and blown away by the lens. In spite of the lcd washout, and a few cases where some zoom would have been nice (at the Zoo), I had a lot of fun with the camera.
This shot was taken with a circular polarizer which accounts for the blue skies. I used Lightroom 2.7 and a calibration profile I found in this DPReview Posting (Direct link to daylight profile). It definitely gave the image a little more punch over the default Adobe profile.
Below is a full resolution crop of the same image located just below the “S” near the center. The 20mm lens is really delivering on detail…

100% Crop
Panasonic DMC-GF1, 20mm f/1.7
I’ll be posting some more images from the trip when I get some time.
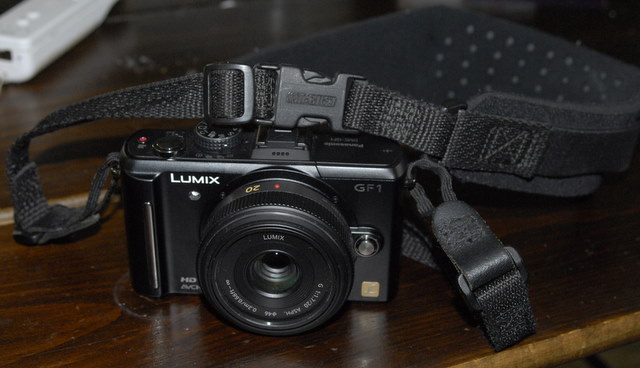
Panasonic GF1 and Optech Pro Loop Connectors
I’m a big fan of OpTech Straps. I had ordered a OpTech Classic Pro Loop Strap for my GF1 the other day. I wanted to use the strap from my D200 in the mean time. When I tried to attach the Pro Loop connectors, I was sadly frustrated by the tiny lugs on the GF1. I took a little bit of my hacker instinct, and decided to cut the leather attachment threading to open the loops up and attach them in a “permanent” way. The results are great and seem very secure. See more info below.
– Sean
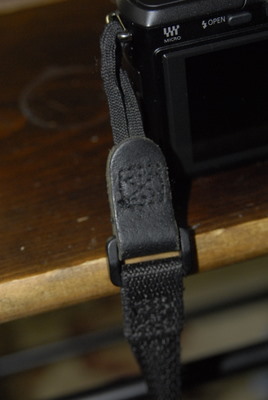
I used an x-acto knife to cut the threads in the leather shown here. The threads are in a box pattern with an “X” inside. The loops are already open, and don’t need to be cut once the stitching is removed. Next, i put the open loop through the GF1 Lugs, positioned the leather back on them so the strap would hang with the buckles facing in. Next, I put a few stitches in to hold everything in place so I could stich it back up without things moving around. Make sure your new stitches go through both parts of the loop – I positioned the loop ends carefully so that they were under the original needle holes. Then finish up the stitching, and repeat on the other connector.
I’m very happy with the results. The only downside is that the loop connectors would need to be cut off to take them off the GF1. I’ve never removed the connectors from my D200 until I did this mod…. so not a big deal for me.
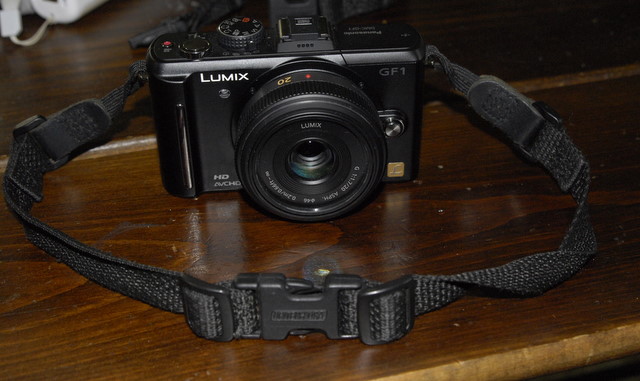
In this photo, you can see the 2 loop adapters connected to each other, with the padded portion of the strap removed. This creates a nice hand strap when the full strap is not needed. The Optech snap in connectors are very secure and have never accidentally disconnected on my D200.
Let me know if you have any questions by leaving a comment.
